
Did you ever receive an original painting or drawing as a Christmas card? If you did, how did it make you feel? I bet it made you feel extremely special. Just knowing that the person who sent it to you didn’t grab a generic one from a box, but actually sat down and took the time to personally create an original piece art….something you could never replace…yes, that feeling is amazing.
And if you have never received an original piece of art in the mail, would you like to make one for someone and actually live the spirit of giving this Christmas?!?
DONT listen to that voice in your head that says, “Oh, I could never do something like that. That’s for talented people.”
Well, I’m here to tell you that you CAN do this. It is NOT too difficult. And ANYTHING you create is an original, beautiful piece of artwork and will be cherished like nothing you can imagine. Even if you do not have the time to mail a card, this is a perfect inexpensive gift just by itself! The person you give it to can eventually frame it to their own personal style.
So, take my hand and I will show you step by step that you can do this. Here we go.
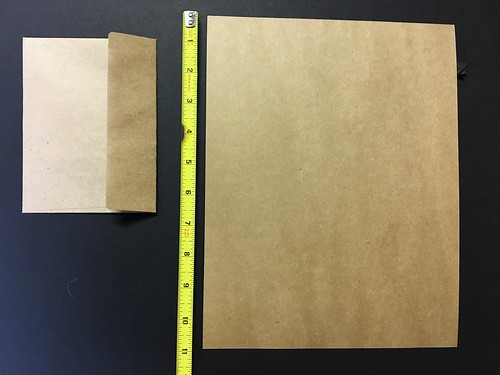
Step 1: Gather your envelop and card to determine what size watercolor paper you will paint on. All of my supplies were purchased at Hobby Lobby. This is one kraft A2 envelope size: 4.375″ x 5.75″ (11.11cm x 14.6cm) and one kraft piece of card stock size: 8.5″ x 11″ (21.59cm x 27.94cm). We will be cutting the card stock in half and only using one piece.
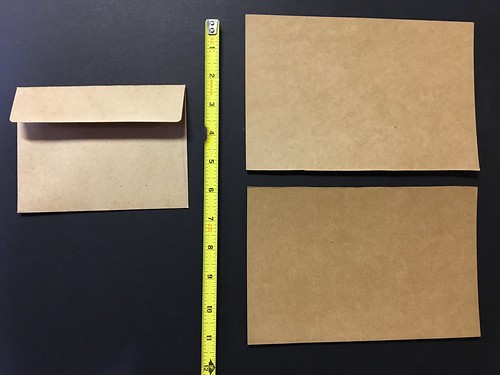
Step 2: Cut the card stock in half. We will use one piece, folded. You can save the other piece for another card.
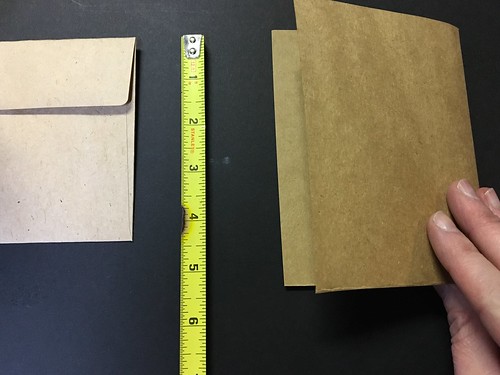
Step 3: Take one piece of card stock and fold it in half. Do not cut. This is your card.
This is what it is going to look like, but don’t attach it just yet.
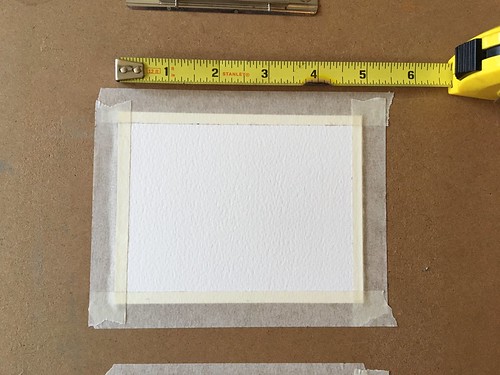
Step 4: We want to cut our coldpress watercolor paper about .25″ (.635cm) or so, smaller on every side than your envelope size. I made my watercolor paper 5″ x 3.5″ (12.7cm x 8.89cm) and taped the edges down to a flat board with masking tape.
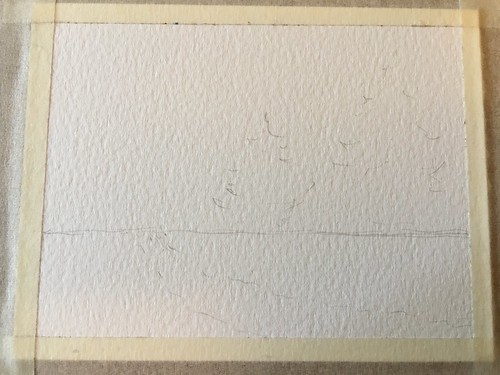
Step 5: With a pencil, make a little road map. Even though this is a snowy scene I made up, I still want some lines directing me where to lay the paint. I drew the horizon line 2/3 down. Lightly sketched in the stream and two pine trees.

Step 6: Using a big round brush with water and cerulean blue, paint the sky.
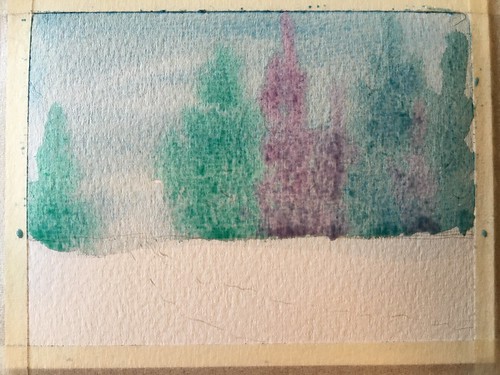
Step 7: Count to 45. While the sky is still wet, paint in the background pines. Paint a few viridian green, one rose, and a few ultramarine blue. Because the sky is still wet, your trees will “melt” into the background and this is exactly what you want.
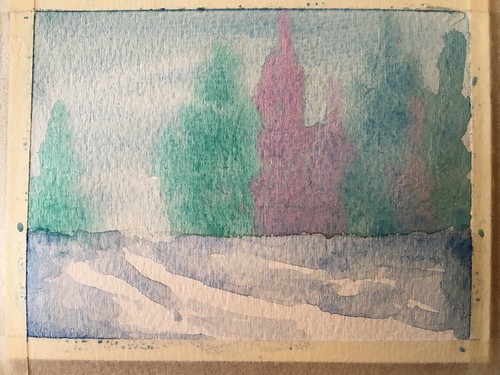
Step 8: While the background trees are drying, paint shadows on the snow using ultramarine blue. Leave some white space for the brightest snow and stream.
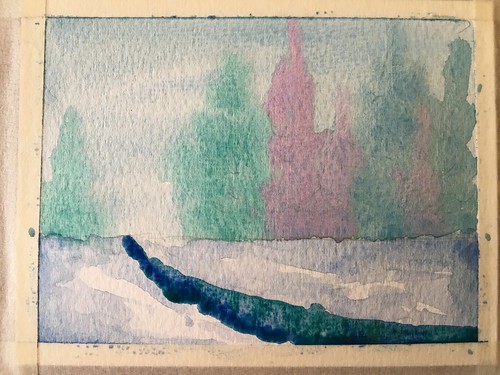
Step 9: Paint the stream using ultramarine blue and viridian green.
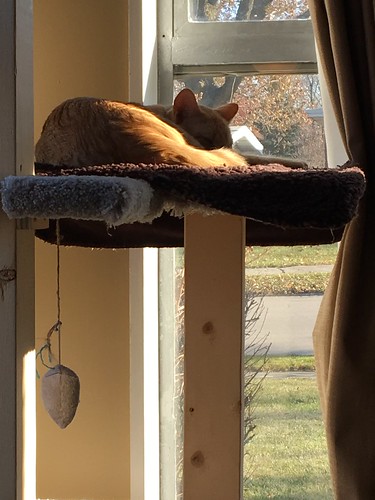
This is Niles. Niles the kitty does not care about making Christmas cards.

Step 10: Pine tree time! Using a mixture of sap green and ultramarine, paint the first tree. Next, using a mixture of yellow and sap green paint the next tree. Notice I am not covering the whole paper, but I am leaving spaces open. Do this. Paint lightly. The last tree paint with sap green and ultramarine again. Here too, do not cover the whole shape. Leave a lot of space open.
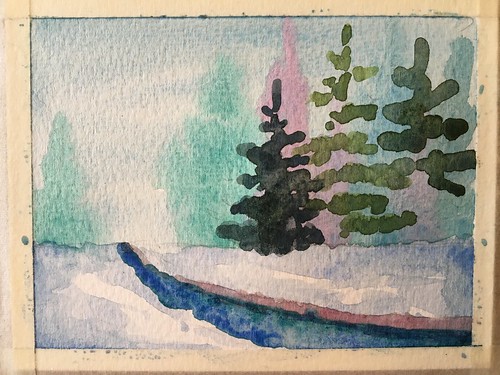
Step 11: While the trees are drying, using rose, paint a shadow right above the stream only on the top of the stream and not the bottom. This is showing the viewer that the snow is deep and the shadow is facing us.
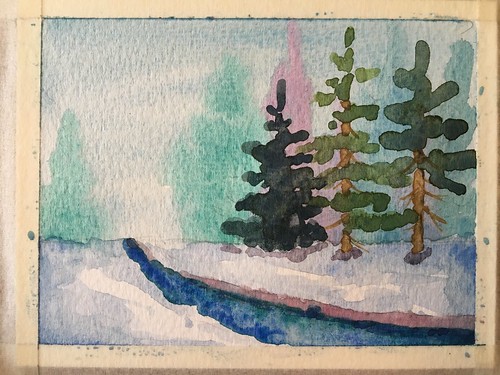
Step 12: If your trees are 100% dry, paint the stem of the pines using yellow ocher. While the trunk of the pine is wet, take a sharp edge and drag some paint left and right, representing twigs and small branches. Using a mixture of the rose and ultramarine blue, paint some shadow under the pines.
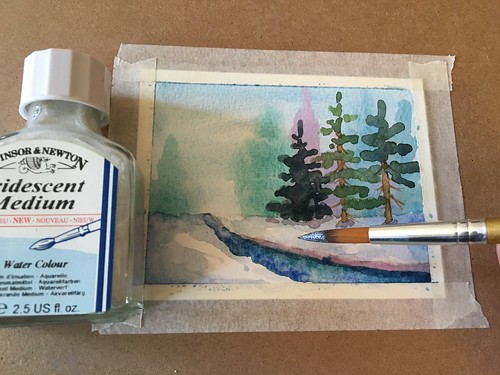
Step 13: This step is optional. Using iridescent watercolor medium, paint a layer of iridescent right on the snow. This is soooooooo pretty!!!!

You can barely see the iridescent on the snow, however if you tilt your painting to the light, you can see it.
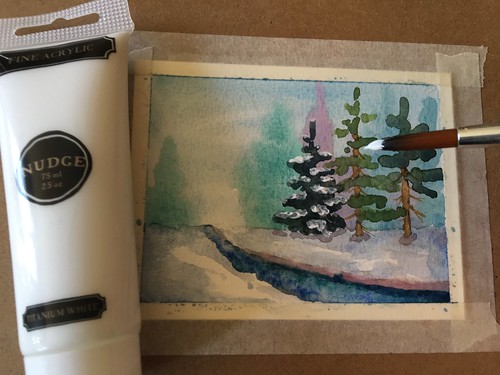
Step 14: More fun stuff!!! Let’s paint the snow!!!! After your painting is completely dry, using white acrylic paint, paint the snow on the tree branches.
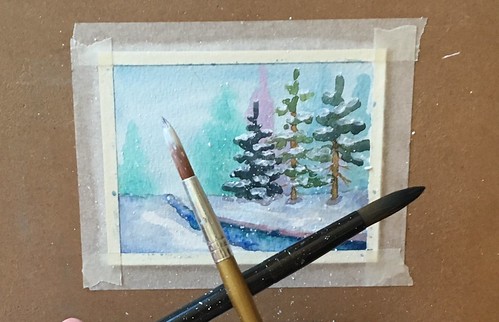
Step 15: MAKE IT SNOW! Take a large round brush and sop up some white acrylic paint. Using another brush underneath, tap the top brush on the bottom brush and be prepared to see some snow fly everywhere! Literally, on my phone, on my table, on my skin…. It’s not fun ’til you get messy!
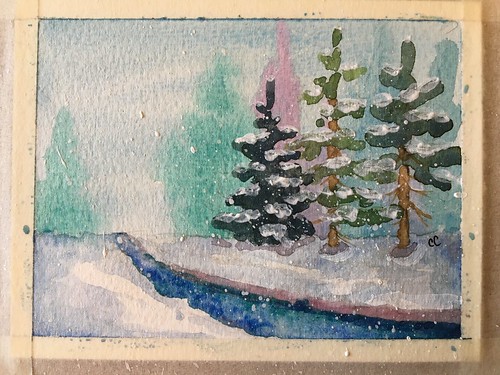
Here is what the snow looks like. When dry, take the tape off.
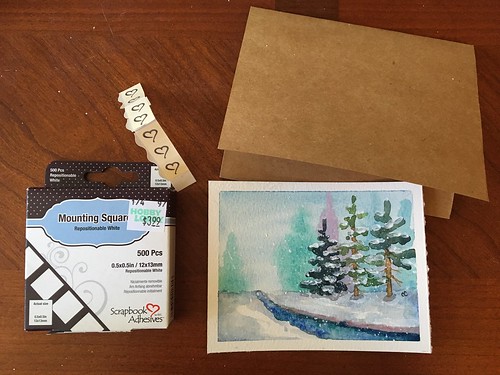
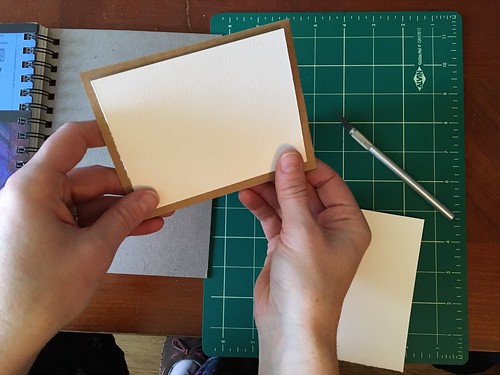
Step 16: Now we are going to mount our watercolor painting to the kraft cardstock card. Place repositionable mounting squares on the 4 corners and one in the middle of the back of your painting. We use repositional mounting squares instead of permanent mounting squares so that the person you give the card to has the choice to remove it from the card and frame it if they choose to do so.
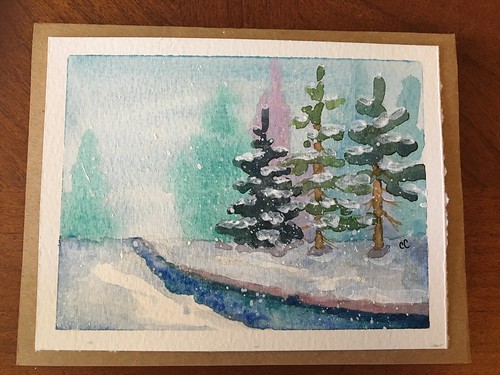
Here is what it looks like mounted to the kraft card.
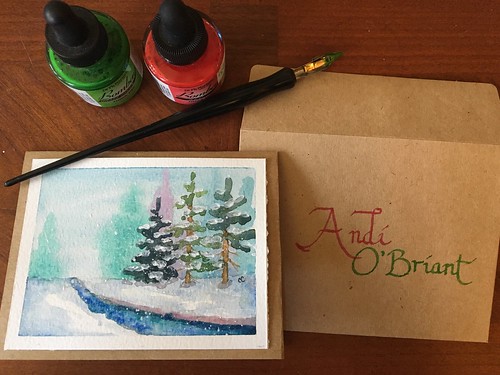
Step 17 FINAL: Decorate your envelope. In this picture I used red and green ink to make a friend’s name in Italic calligraphy text. You can use glitter pens, or metalic pens, or anything you wish to decorate the envelope.
YOU CAN DO THIS!!! Just try. And promise me you wont quit. Just work through it all the way until the end. Even if you think you do not like it….just leave it alone and look at it the next day, I promise you will say to yourself, “Hey, that looks pretty good!”
Merry Christmas.
I hope you enjoyed this free step by step process on how to paint an easy Christmas card. May you enjoy creating and giving this holiday season.


a delicious experience – if you add marshmallows and hot chocolate … and sitting by a warm fire
What a great idea!
Thank you for your tutorial. I painted cards last year for immediate family and I will try yours this year! Happ Holidays
Happy Holidays, Tracy! I bet your family will treasure your handmade cards forever!
Christine
Beautiful, beautiful, beautiful– lovely work, Christine, and that was nice of Niles to be such a big help… : )
Thanks Mark! Lol….lazy Niles! Merry Christmas.